Download
Download the reconstruction system (293M)
The current version is 1.1 (change log). It requires a 64-bit Windows system and an Nvidia graphics card. The package contains three folders:
bin: executable files, dynamic link files, and bash scripts
sandbox: input, output, and intermediate data files
scanner: a program to produce input files from an Asus Xtion/Primesense sensor
System Requirements
Hardware. To run the system you need an Nvidia graphics card with at least 2GB of dedicated video memory. We have tested the system on a variety of machines. The oldest one has an Intel i7 930 CPU clocked at 2.8GHz, 16GB of RAM, and a GeForce GTX 580 GPU. The script in this tutorial takes 5 hours on this machine.
Software. You need a Windows (7/8/8.1) 64-bit OS with Visual C++ 2010 redistributables. Download and install OpenNI 1.5.4 64-bits and the latest CUDA. We highly recommend that you install a BASH emulation. Git for Windows includes Git BASH which is quite handy.
How to Run the Pipeline
Unzip the package.
To test the environment, in the BASH emulation, go to the "bin" directory, then run "test.sh". If everything has been set up correctly, you should see command line printouts from the executables - there should be no program that crashes or pops out a window reporting a missing dll file.
You should notice that there is only one file "input.oni" under the "sandbox" directory. This is the input RGB-D video.
To make the first test run, in the BASH emulation, go to the "bin" directory and run "demo.sh". The script automatically runs through the pipeline and generates intermediate results under the "sandbox" directory. After it finishes, which takes 5 hours on the aforementioned machine, there should be a few ply files under "sandbox/ply". Use MeshLab to import them into the same project, merge them, and export the mesh. You should get a 3D reconstruction of a living room.
How to Change Input Files
This is simple. First clear the "sandbox" directory, then compress the input RGB-D stream into "input.oni". Change parameters in the script file, then run it.
For example, download ONI files from Augmented ICL-NUIM Dataset, copy them into "sandbox", rename to "input.oni", then run "demo.sh" for "Living Room 1" and "Office 1", or run "demo_val3.sh" for "Living Room 2" and "Office 2".
For SUN3D scenes, run "demo_SUN3D.sh" for all scans. The current system only supports ONI files as input. Contact us (choisnu@gmail.com) if you have problems creating ONI files from the original SUN3D dataset.
Parameter configuration is described on this page.
How to Scan with a Depth Camera
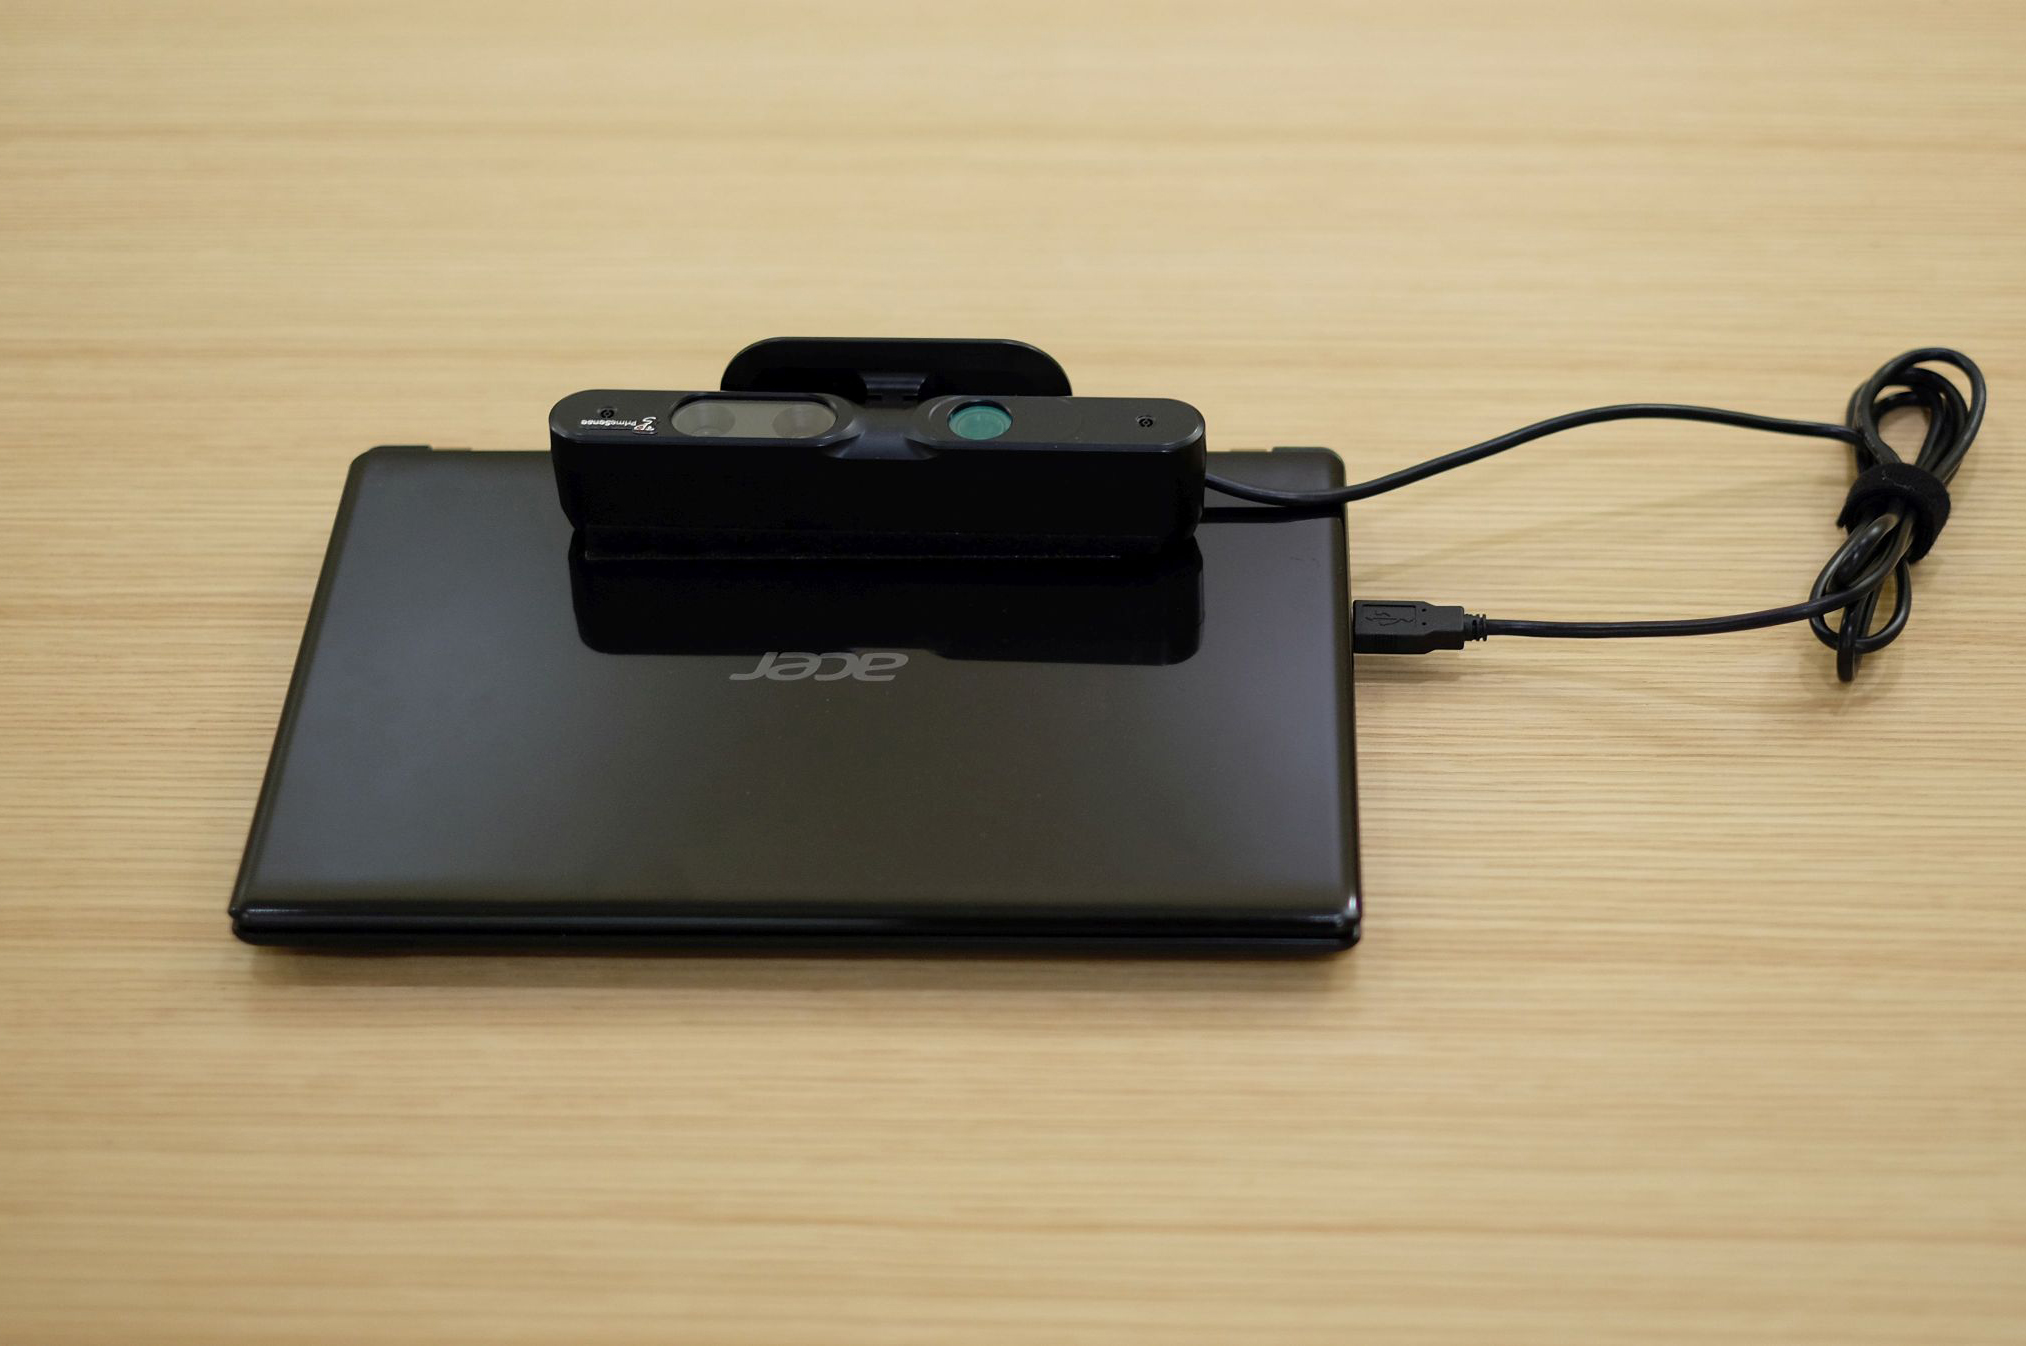
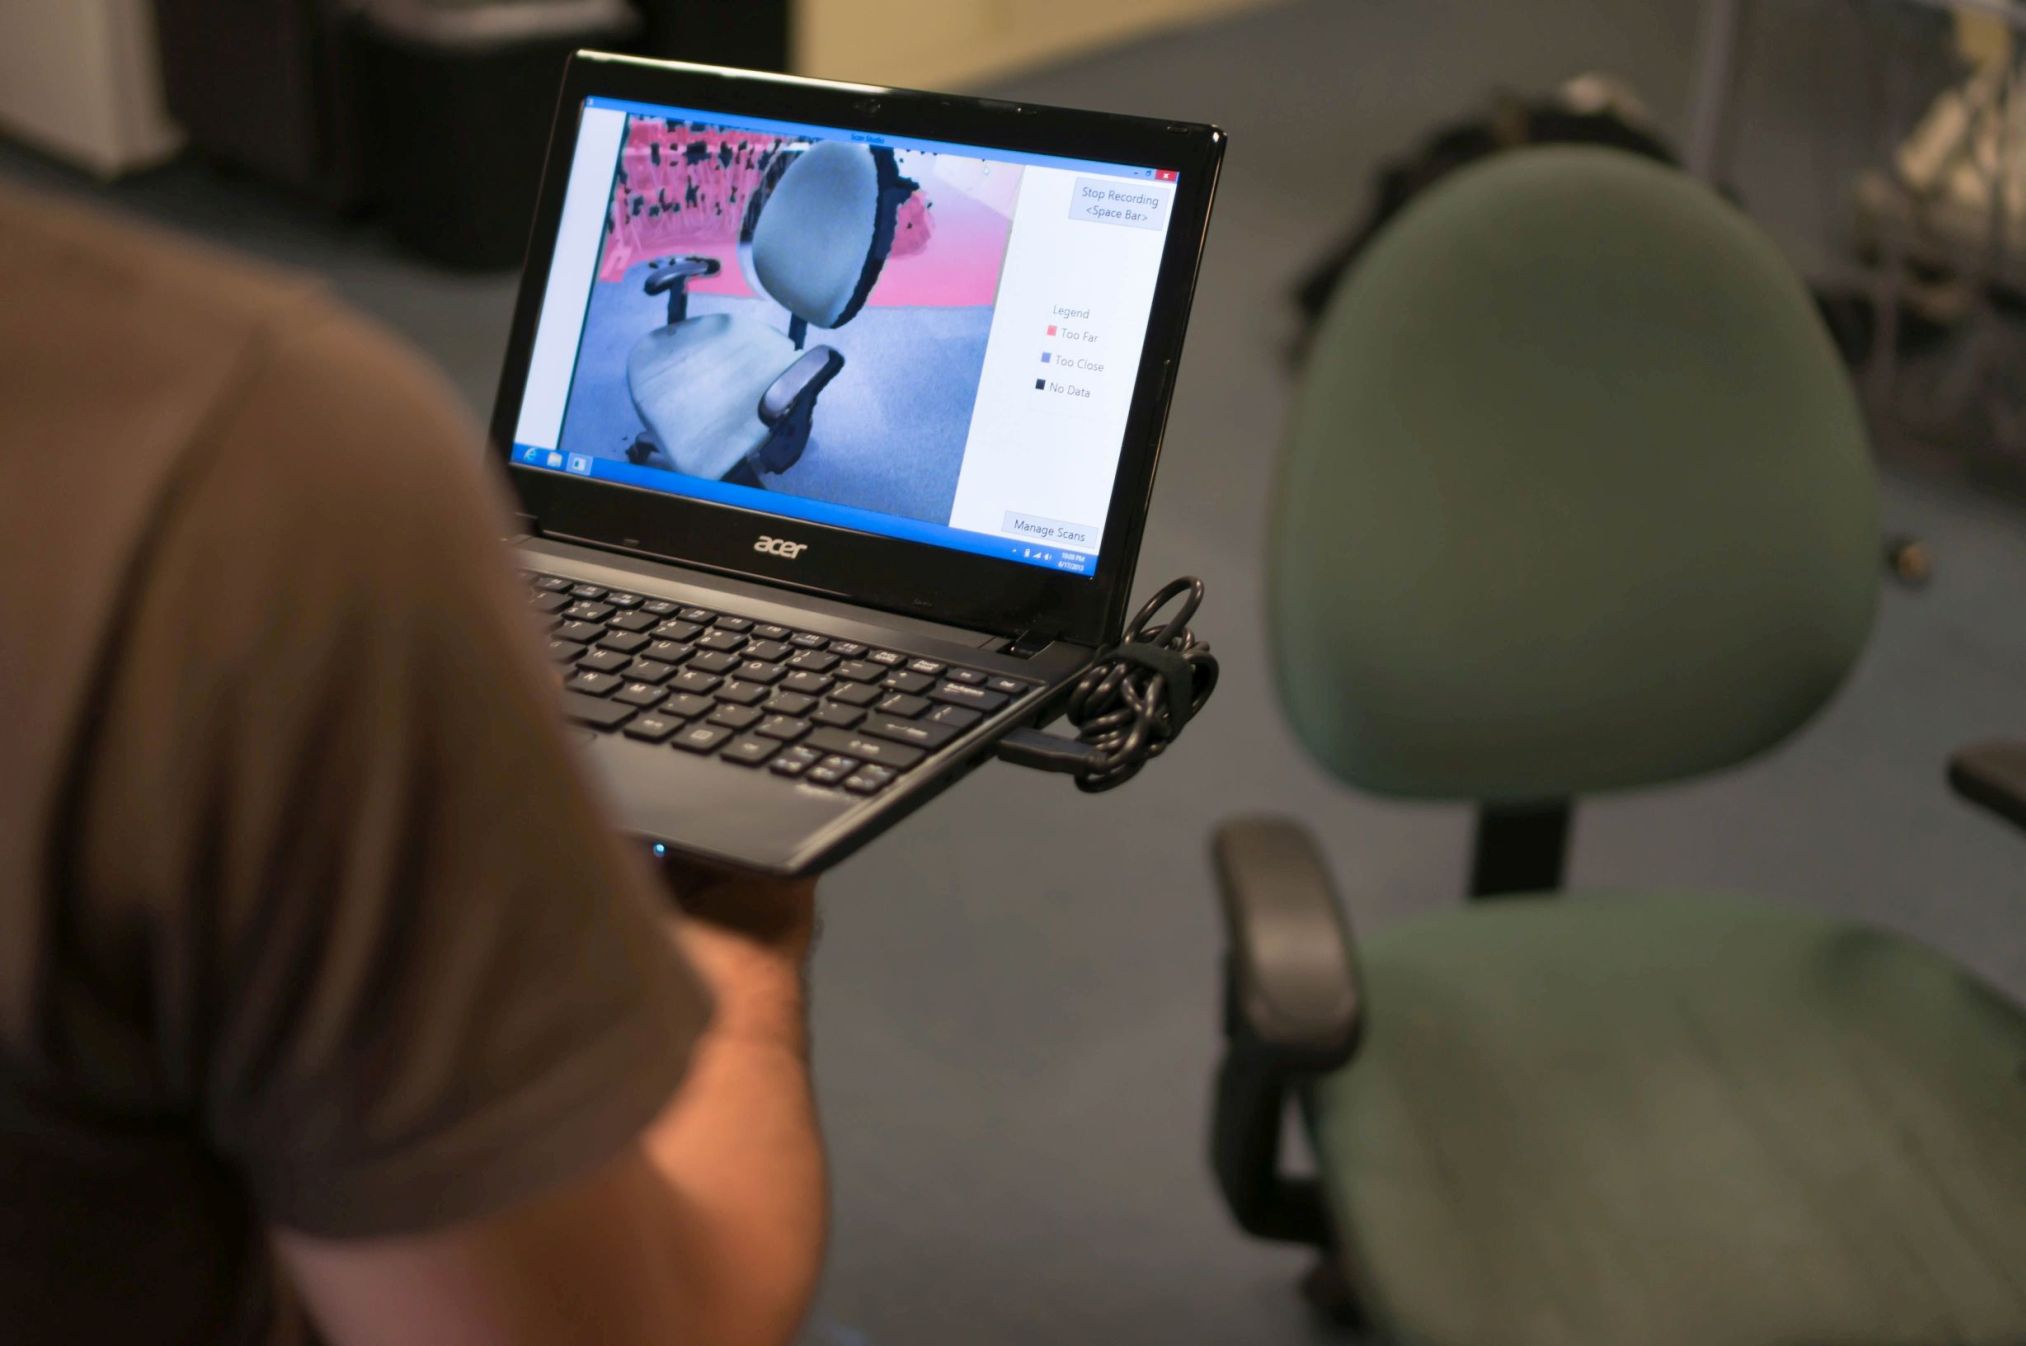
We provide a light-weight scanning application that can be used to create RGB-D videos with the Asus Xtion and Primesense sensors.
Connect the sensor. Run "ScanStudio.exe" from the "scanner" directory. Tap space to start recording. Tap space again to stop. A scan will be generated under the "C:\Data\" directory in the uncompressed raw ONI format. The GUI is straightforward. You can enable/disable auto exposure, white balancing, and RGB-D registration as needed. The following figures show the mobile scanning setup we have used in our research: a low-end Acer Aspire laptop with a Primesense 1.09 sensor.
To reconstruct the recorded scene, first compress the recorded file using "ONIParser.exe". In the BASH emulation, go to the "bin" directory and execute the following command:
> ONIParser.exe --oni <oni_file> --output_oniOnce this process is complete, a compressed "input.oni" will appear. Copy this file to the "sandbox" directory, then follow the instructions in the previous sections.